86hsm85-BZ-E1
Leadshine easy servo motor 86hsm85-BZ-E1
- Brand
- Leadshine Drivers
- English Name
- Leadshine easy servo motor 86hsm85-BZ-E1
- Availability
- In Stock / Made to Order
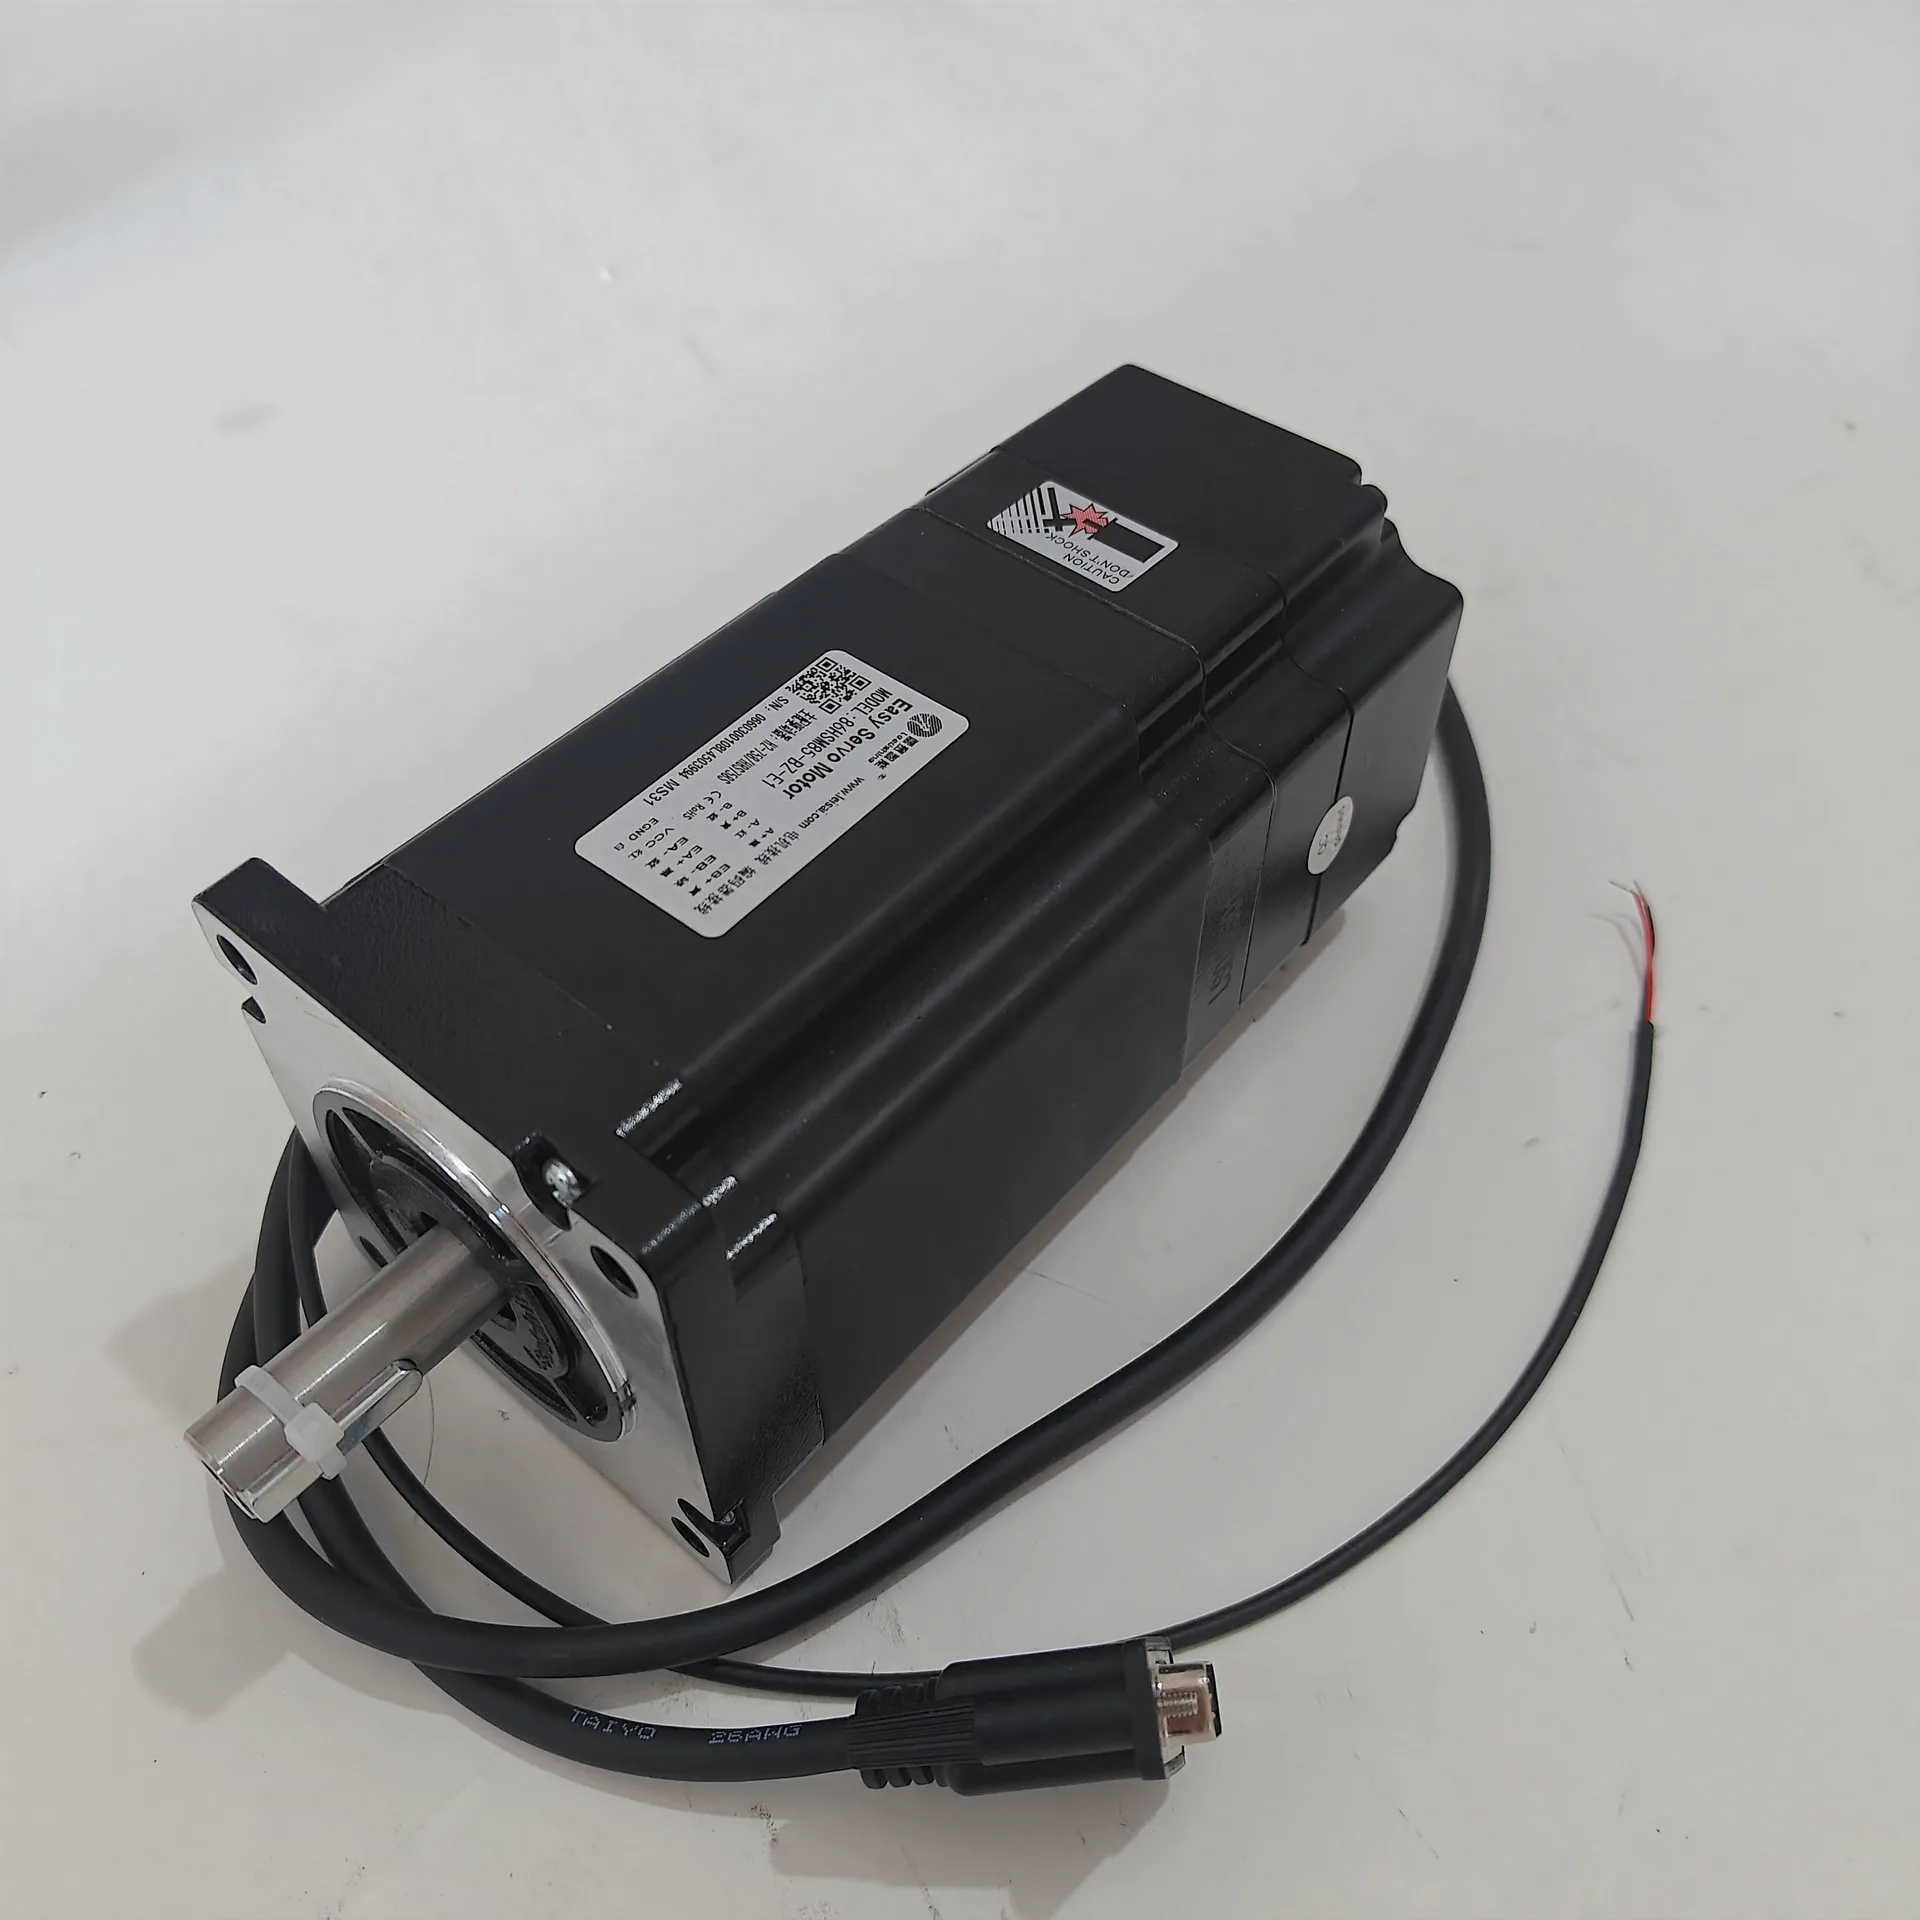
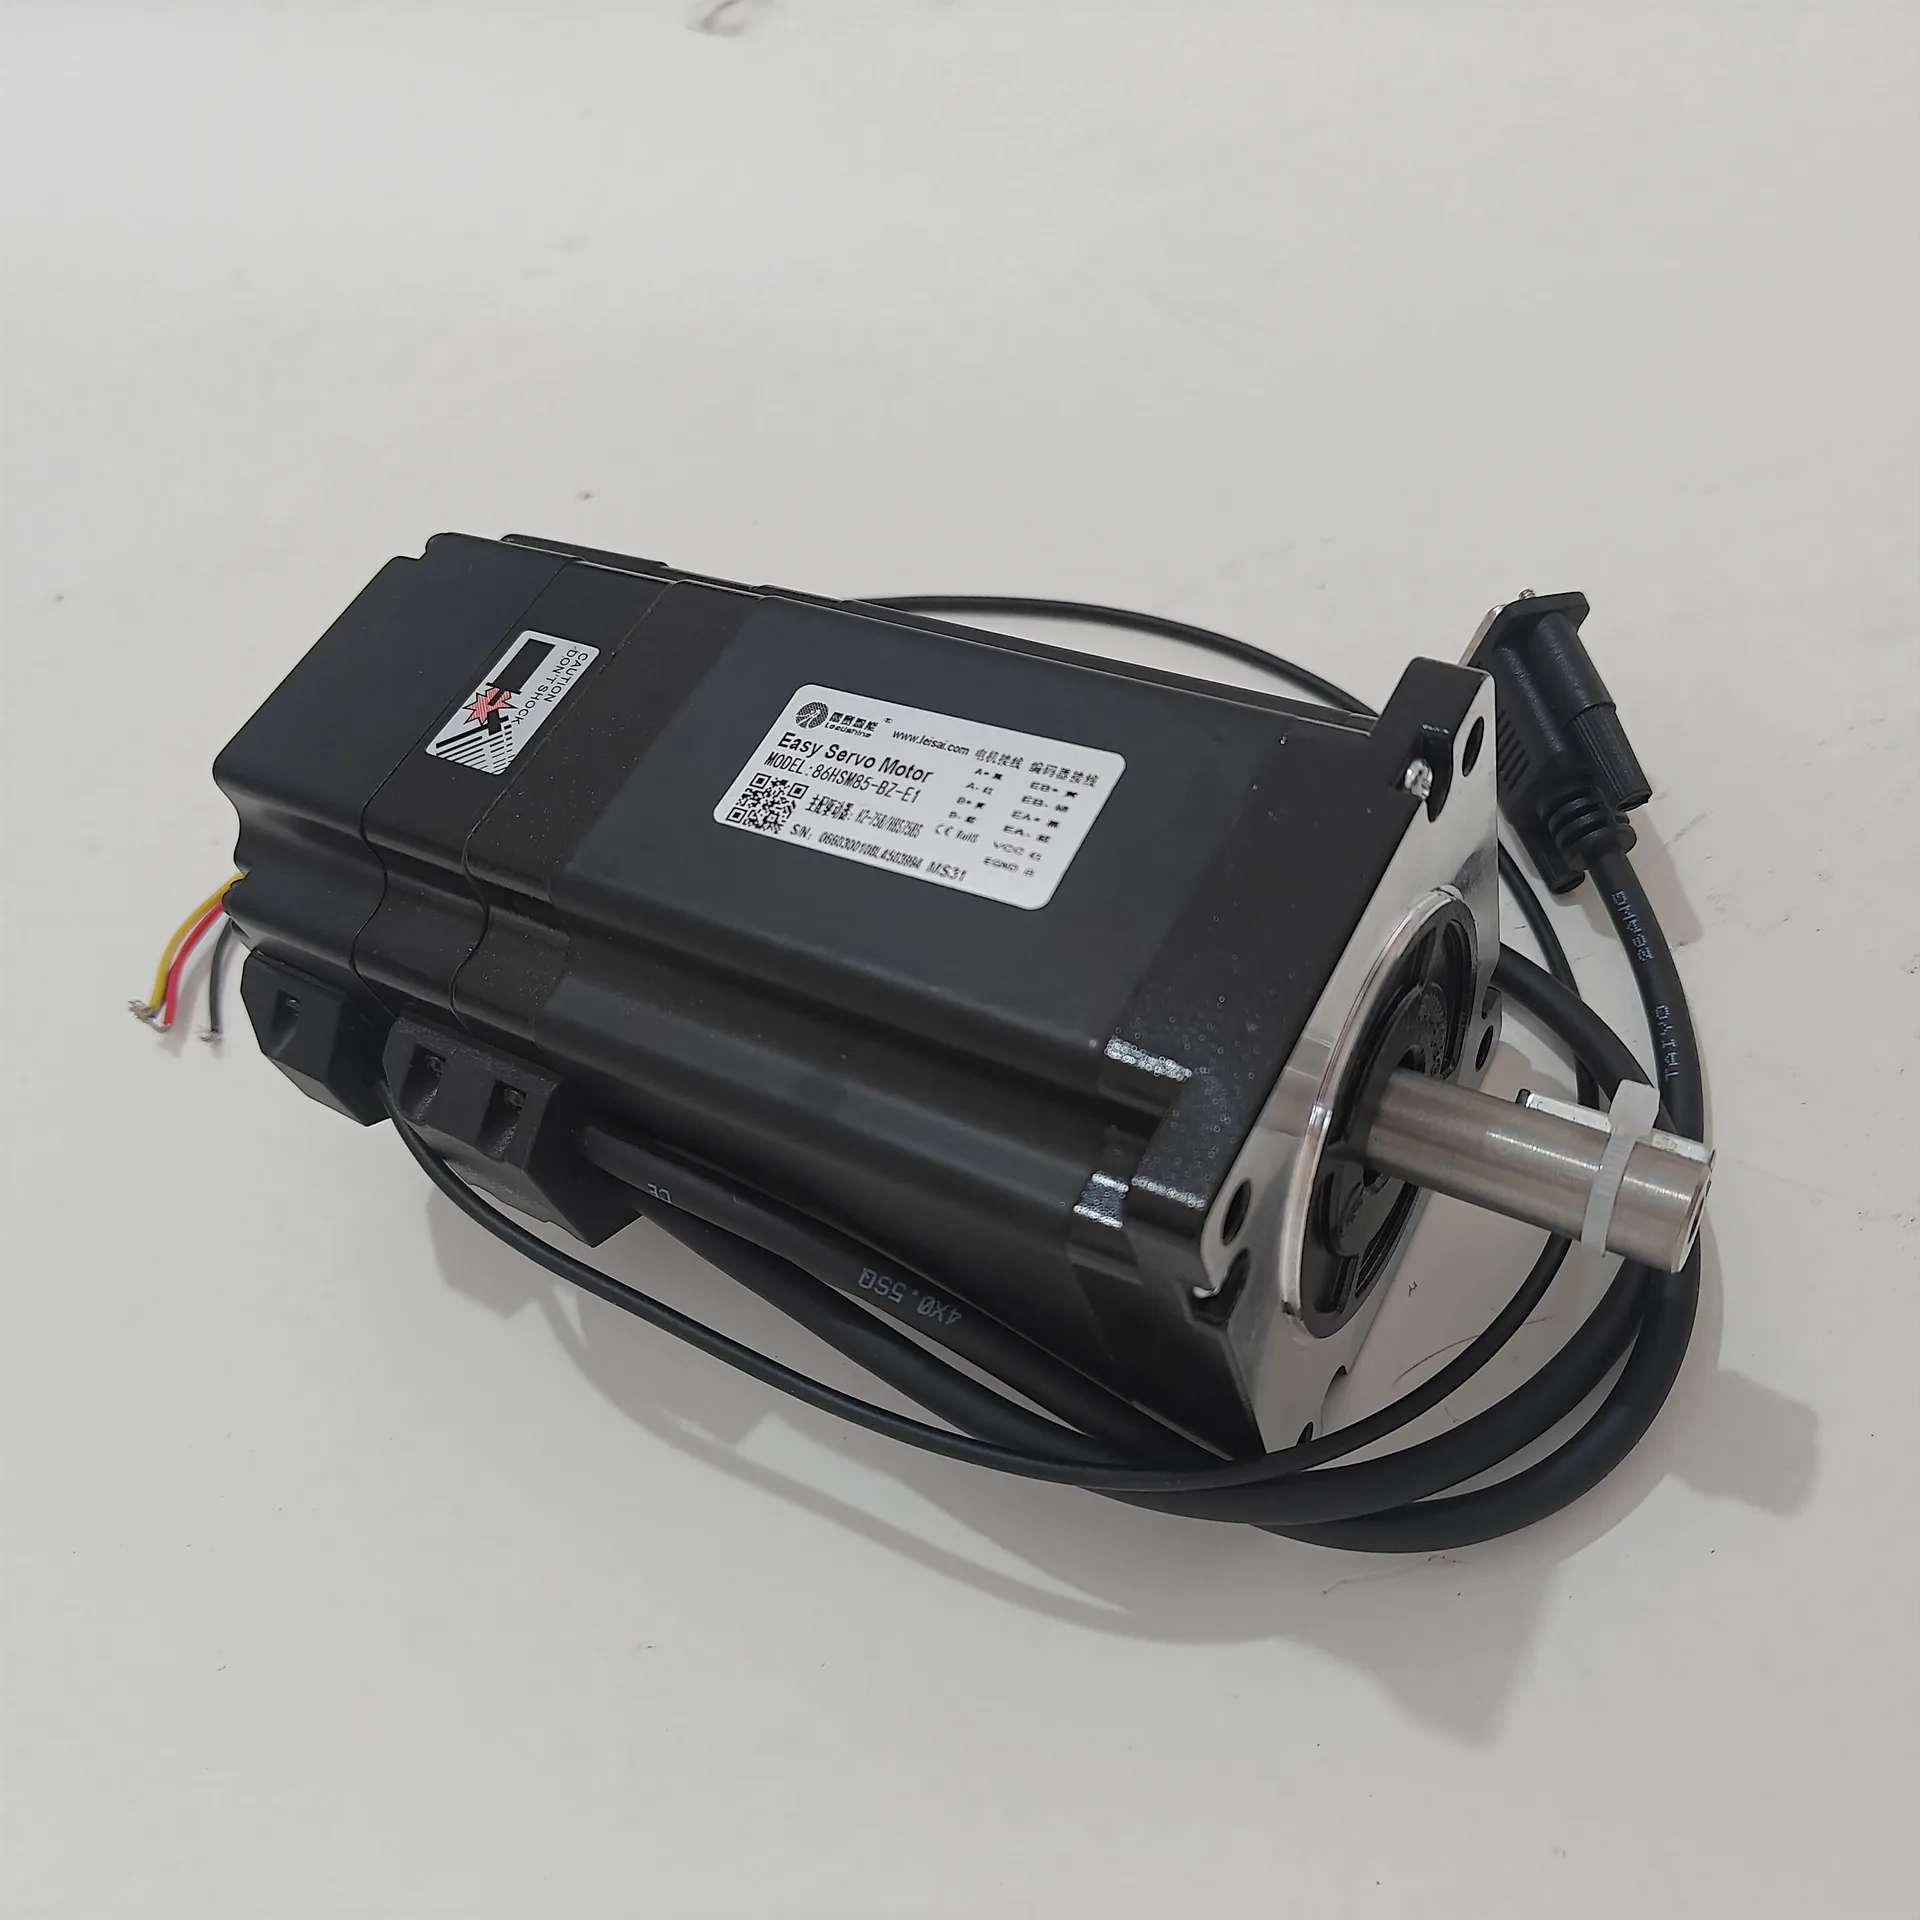
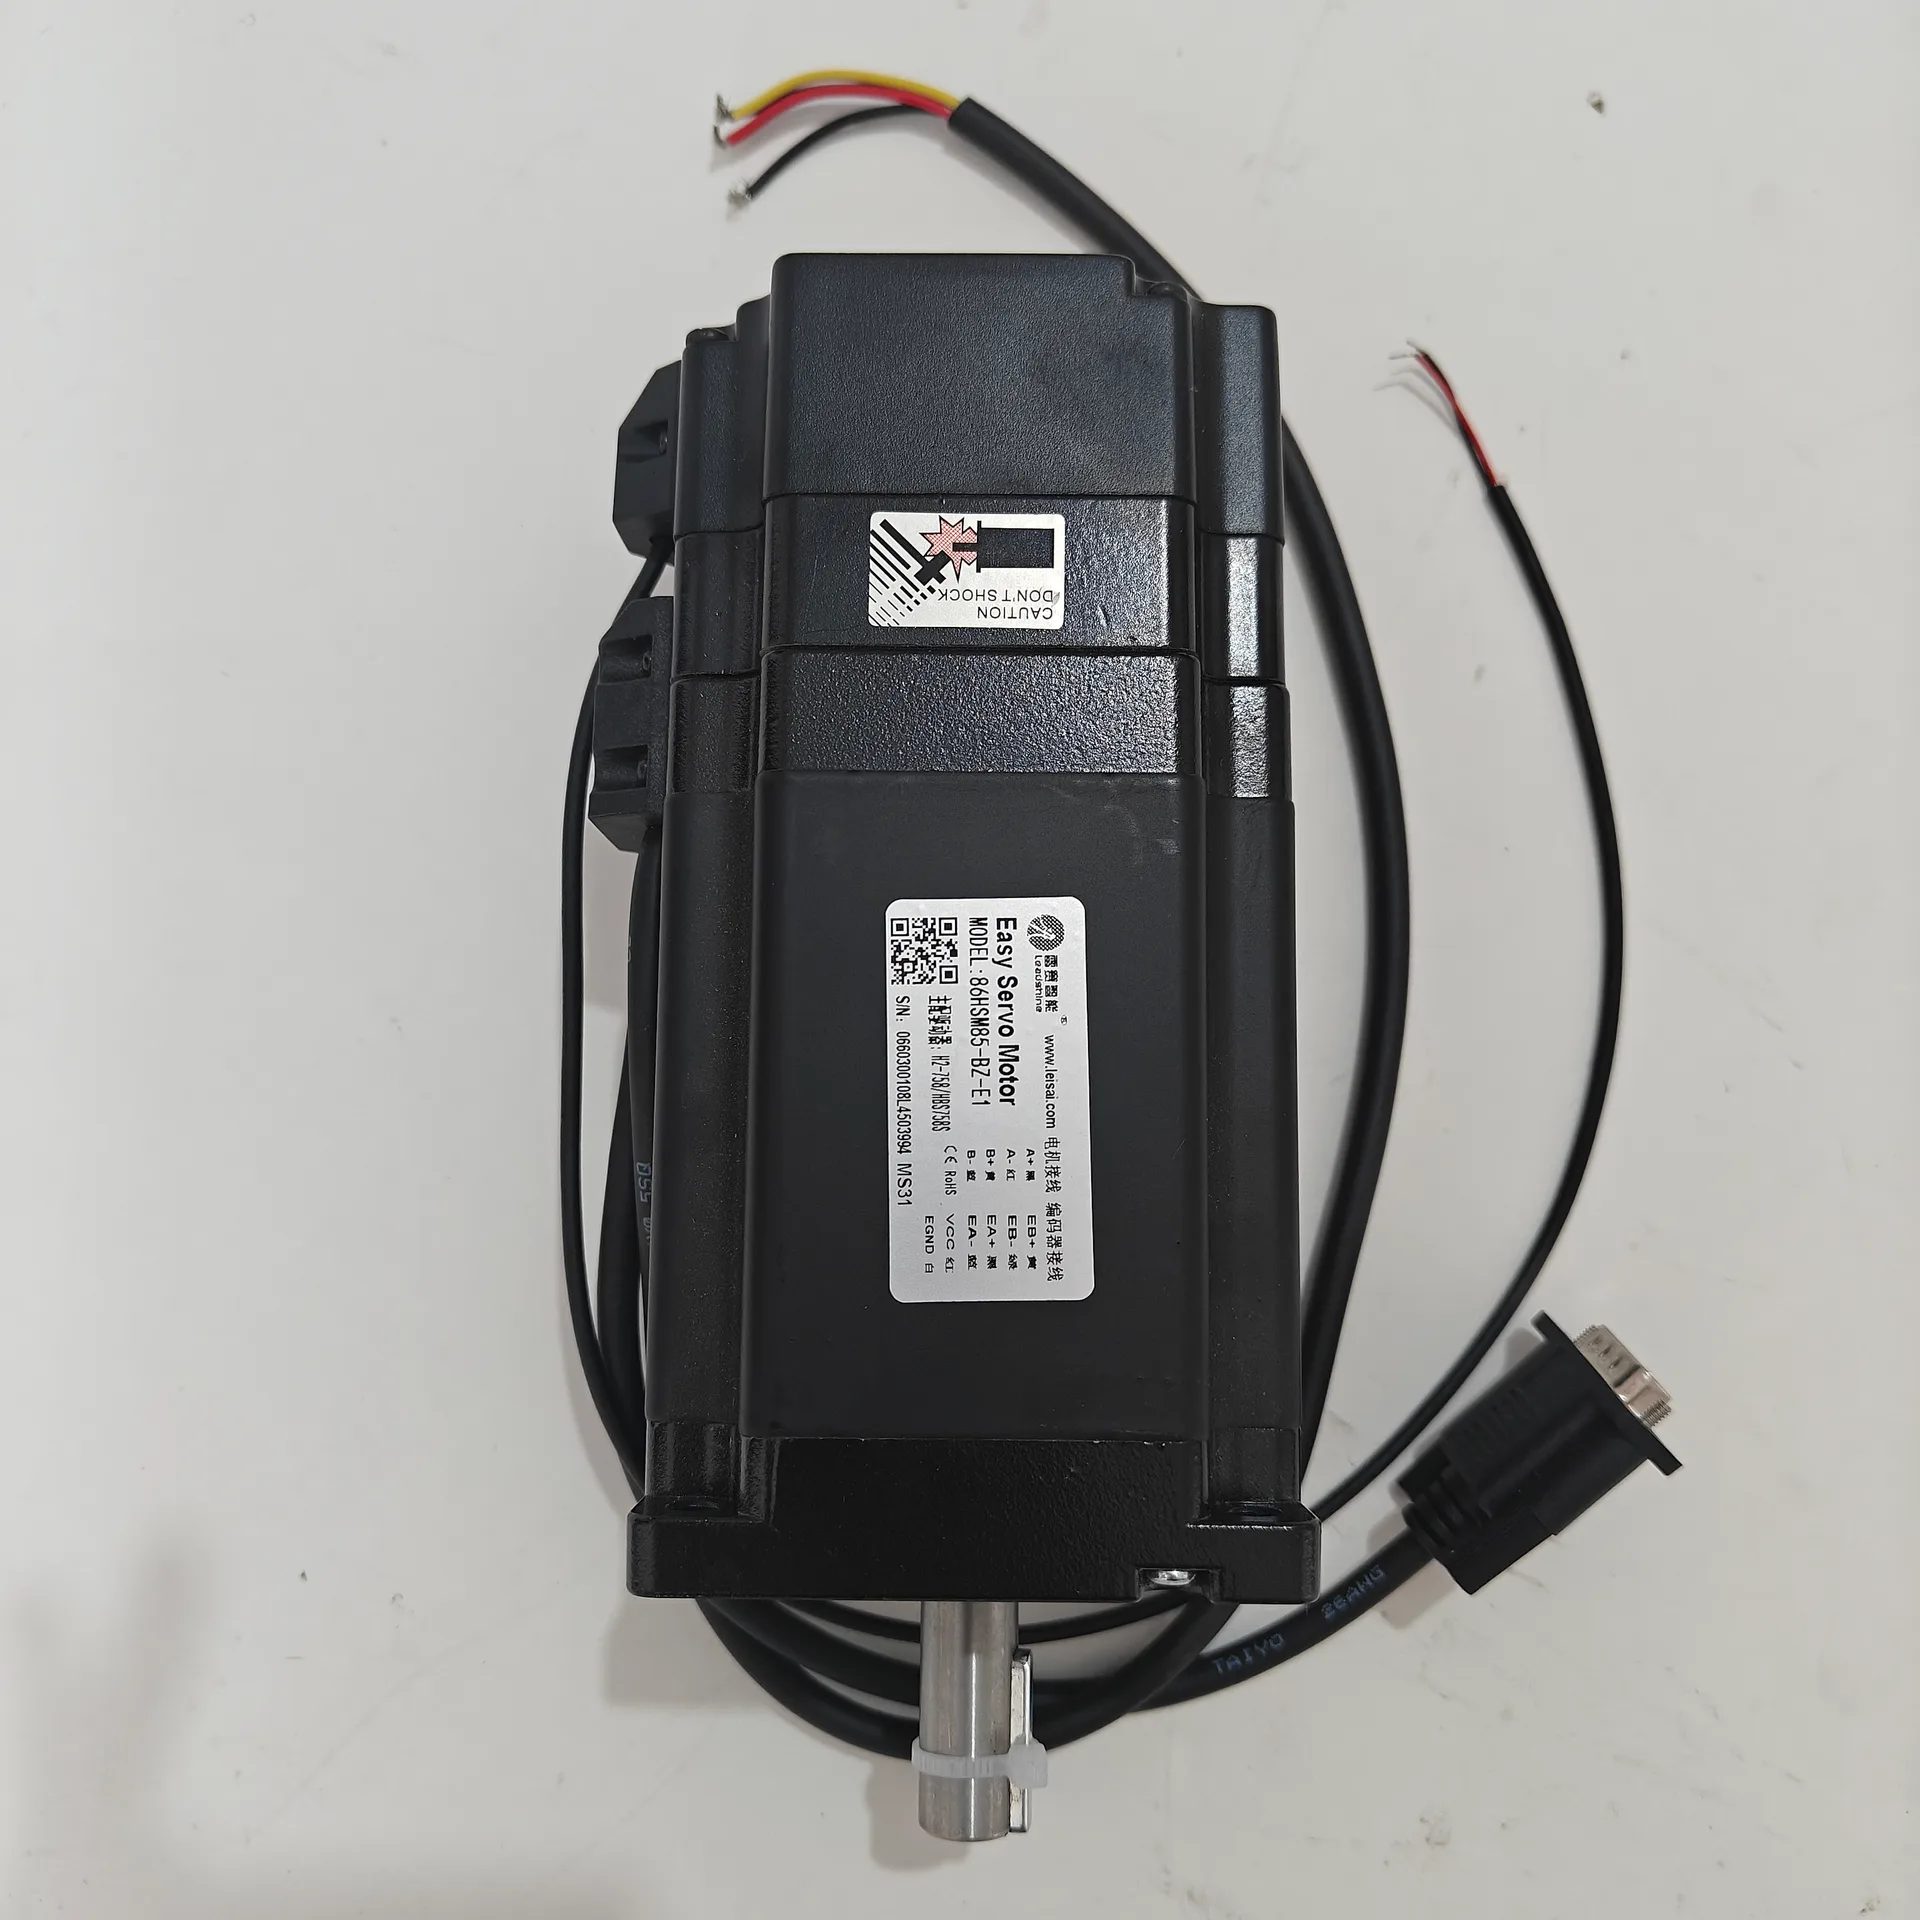
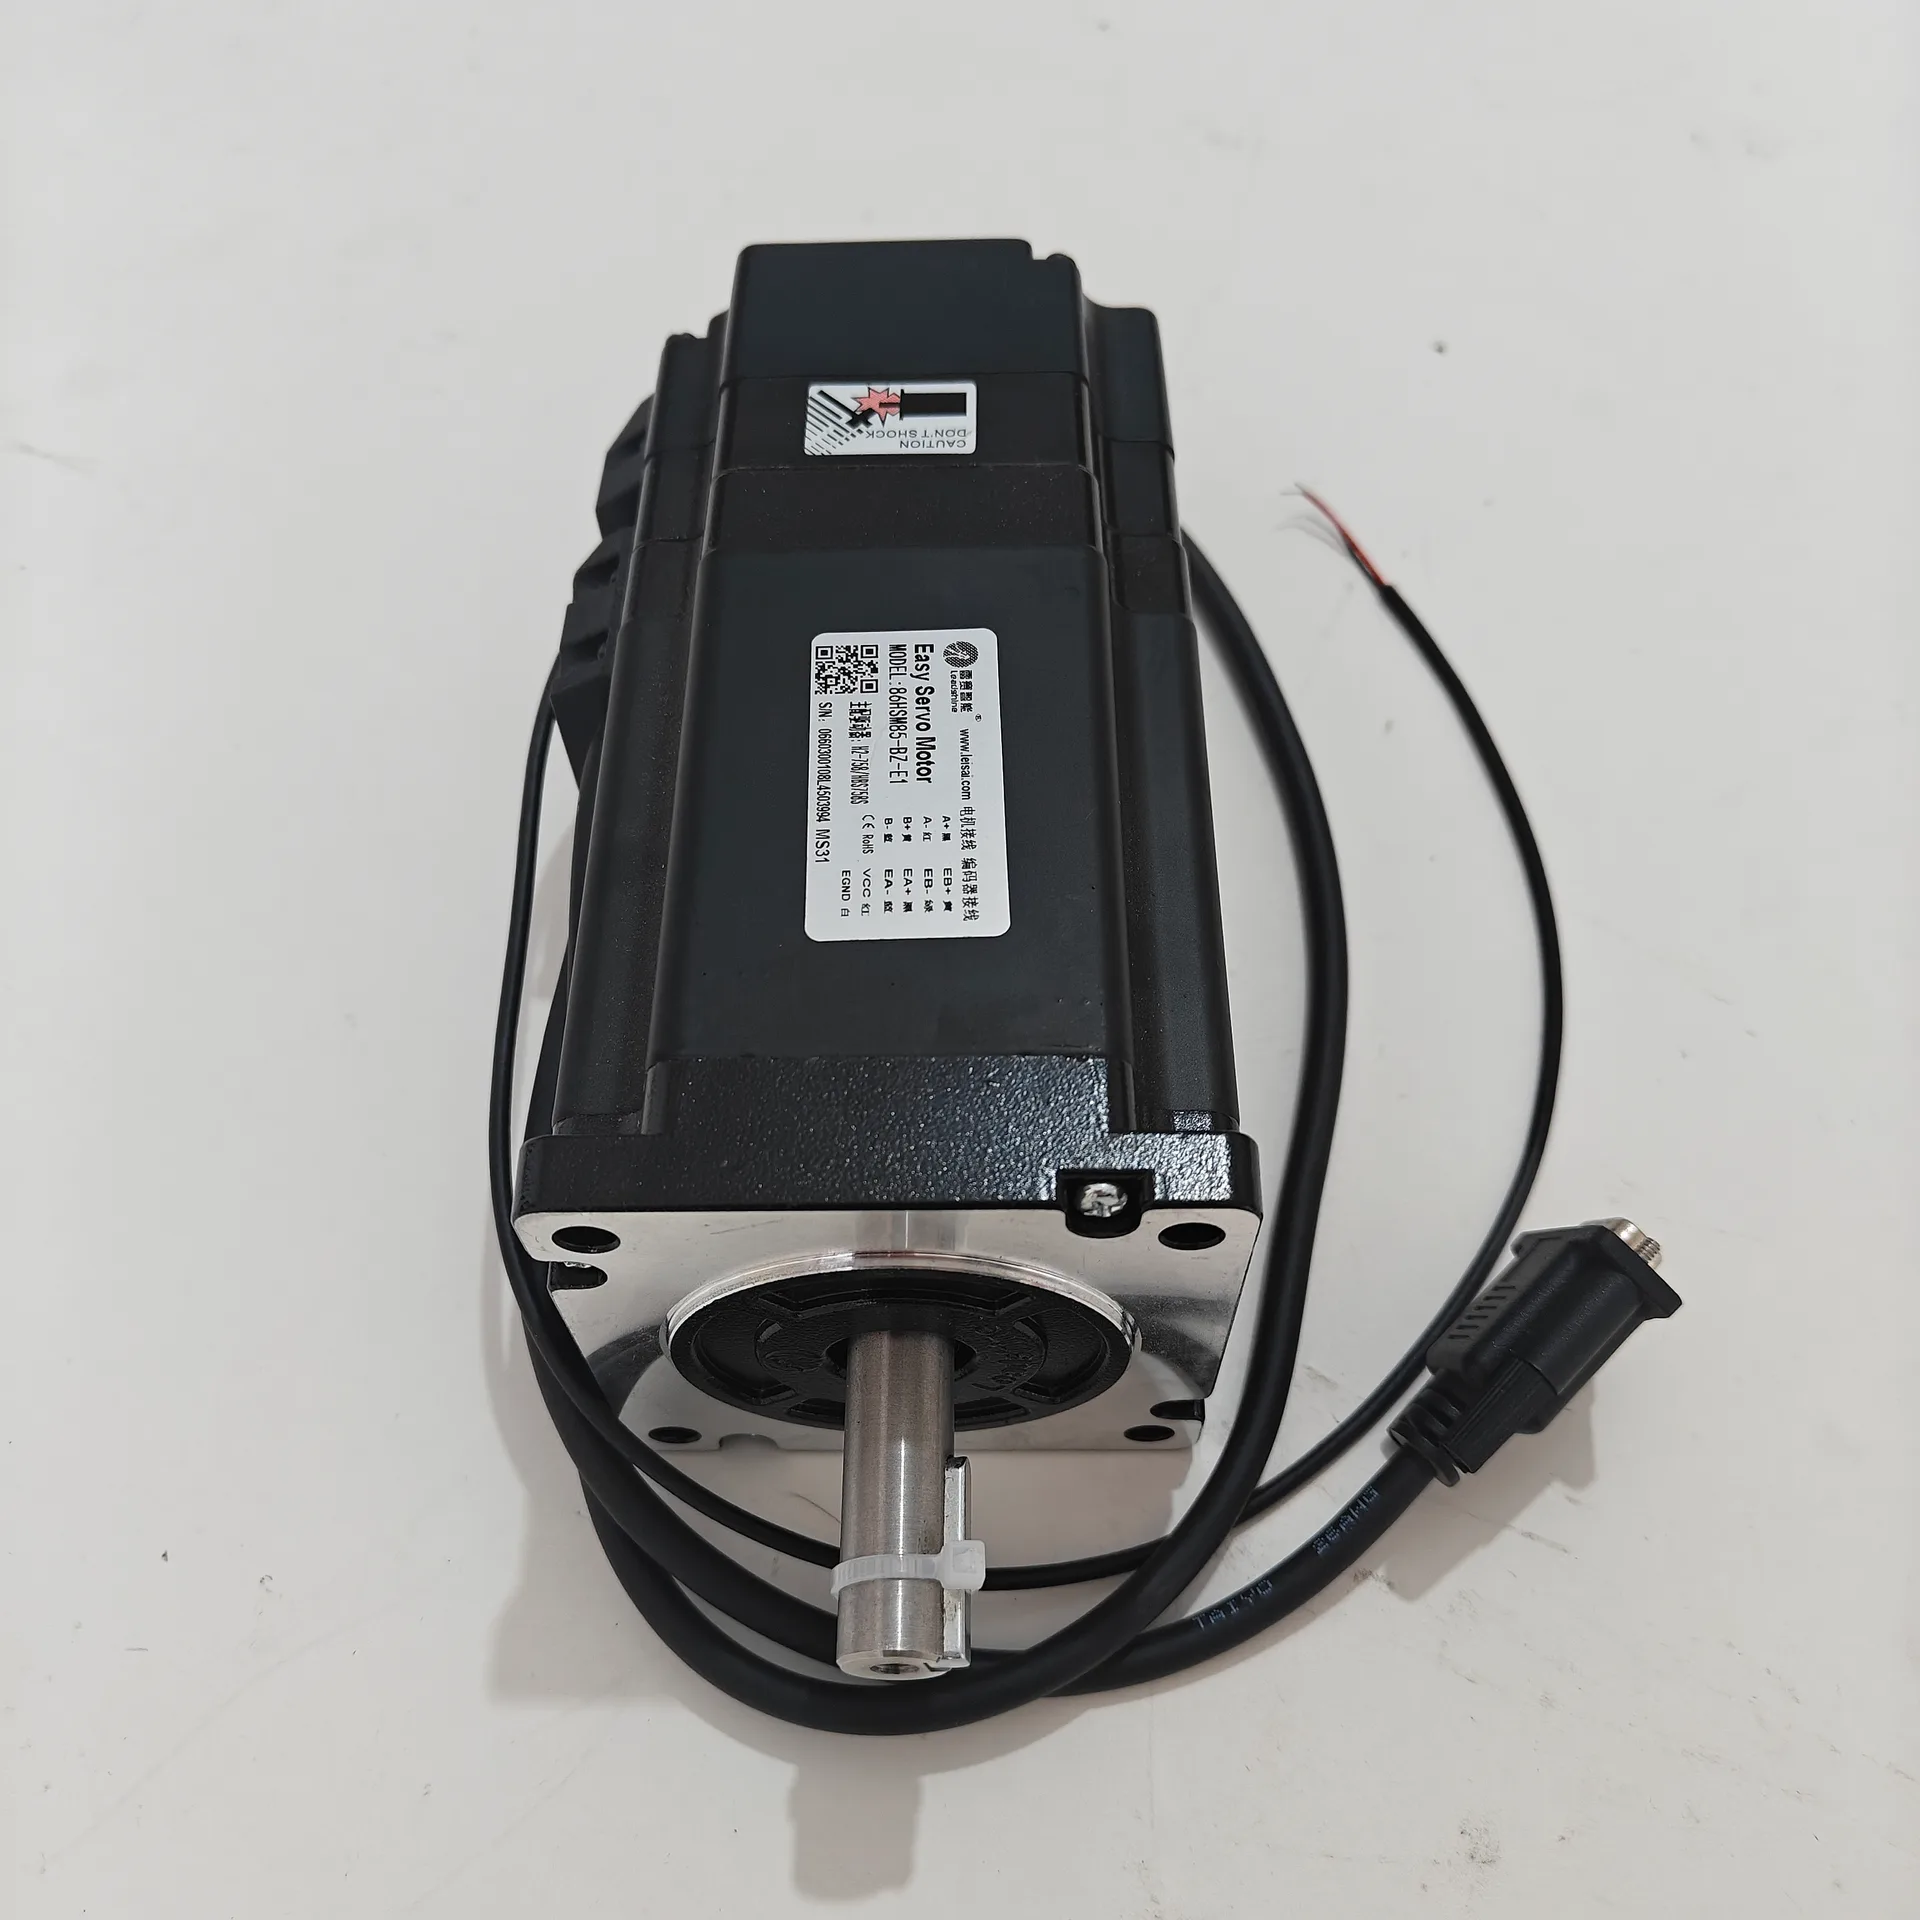
The Leadshine 86HSM85-BZ-E1 is a NEMA 34 hybrid servo motor equipped with a fail-safe electromagnetic brake, specifically designed for applications requiring position holding when power is removed. The “BZ” suffix indicates the built-in spring-applied brake, which locks the shaft when de-energized (24 VDC applied to release) — making it particularly suitable for vertical-axis applications such as CNC router Z-axes, where gravity-induced drift must be prevented. With a holding torque of 8.5 N·m and a 1000-line incremental encoder, it delivers closed-loop control that eliminates step loss while reducing motor heating and vibration. The motor features a 147 mm body length and a 14 mm shaft, and is typically paired with the Leadshine H2-758 or HBS86H hybrid servo driver for optimal performance.
Product Details
Below are the detailed photos and specifications for this item. Contact us on WhatsApp for pricing, stock and matching accessories.
The Leadshine 86HSM85-BZ-E1 is a NEMA 34 hybrid servo motor equipped with a fail-safe electromagnetic brake, specifically designed for applications requiring position holding when power is removed. The “BZ” suffix indicates the built-in spring-applied brake, which locks the shaft when de-energized (24 VDC applied to release) — making it particularly suitable for vertical-axis applications such as CNC router Z-axes, where gravity-induced drift must be prevented. With a holding torque of 8.5 N·m and a 1000-line incremental encoder, it delivers closed-loop control that eliminates step loss while reducing motor heating and vibration. The motor features a 147 mm body length and a 14 mm shaft, and is typically paired with the Leadshine H2-758 or HBS86H hybrid servo driver for optimal performance.